My Small Box Plexi: A re-creation
meh 11/2002
| <<prev | Introduction | Turret Board | Chassis | Wiring | Completed Chassis | Head Cabinet | Speaker Cabinet | Sounds | Next>> |
The Chassis
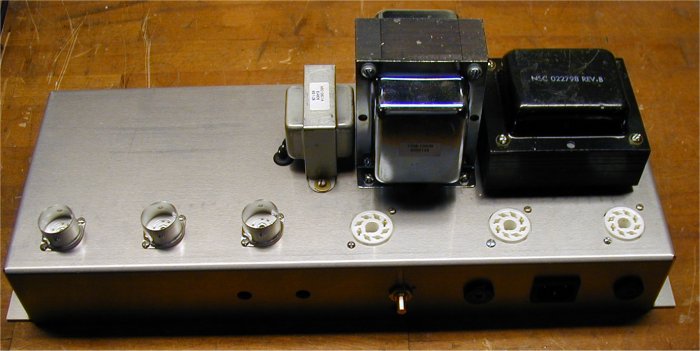
The next thing I did was install the tube sockets and transformers. The KT66s didn't have enough clearance with the output transformer in the Weber factory position, so I had to move it backwards about a centimeter.
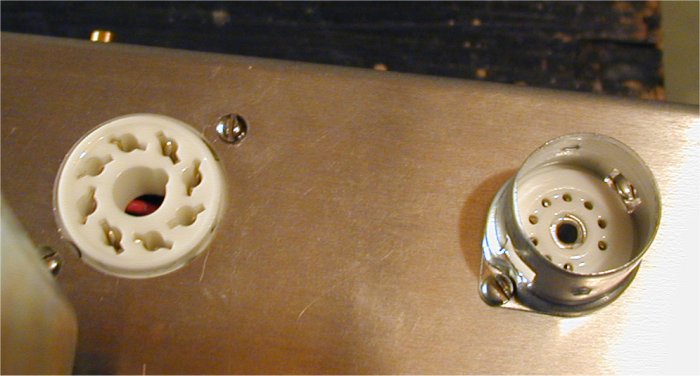
Here's the 9-pin ceramic sockets from the inside:

Here's one of each (octal and noval) from the top:
Here's the top view with all the transformers installed:
...and the bottom view. Note to potential builders: If you're using the Weber VST chassis, wire up the rectifier socket before installing the fuse holder. Look at the picture below to see why. ;-)
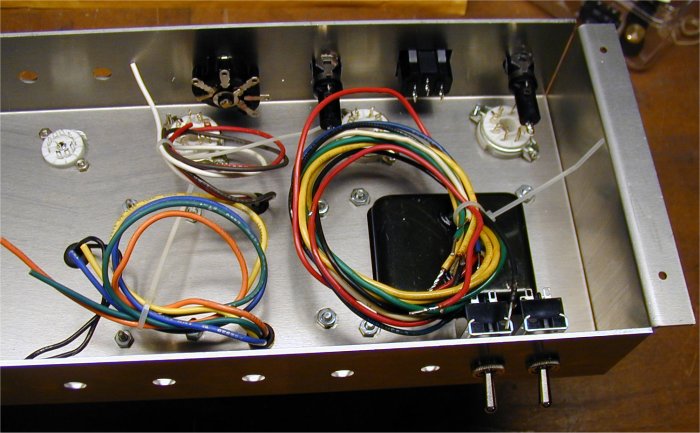
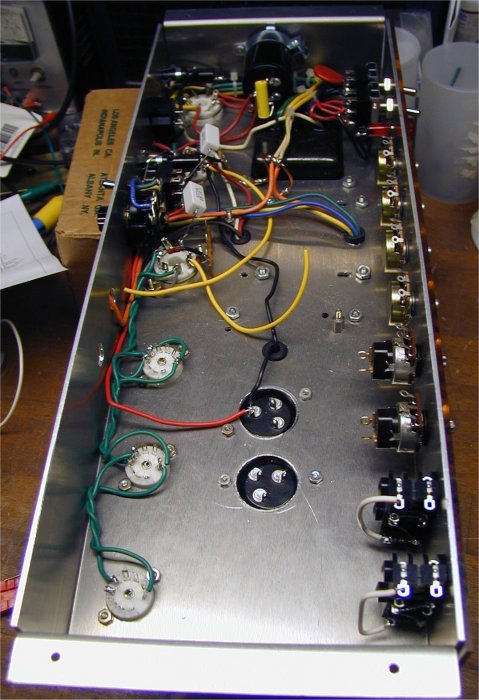
Next I put in all the pots and switches, and the can caps. Then I wired up the filaments and the rest of the main power supply.
Note that I had to punch two octal size holes in the chassis to install two of the three cap cans on top - there wasn't enough room inside.
| <<prev | Introduction | Turret Board | Chassis | Wiring | Completed Chassis | Head Cabinet | Speaker Cabinet | Sounds | Next>> |