My Small Box Plexi: A re-creation

meh 11/2002
| <<prev | Introduction | Turret Board | Chassis | Wiring | Completed Chassis | Head Cabinet | Speaker Cabinet | Sounds | Next>> |
Wiring Details
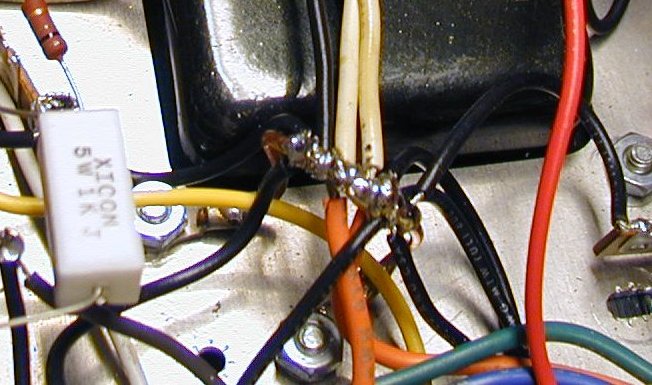
I used a collected one-point star grounding scheme. Everything connected together and marked with the "earth" symbol on the schematic is connected together locally, and then that local common is connected to the star point.
I use a slightly unconventional method to attach the grounds - I bend a short piece of 10 gauge copper into an Omega shape (the ohm symbol), and crimp and solder connectors onto the two ends. Next, solder all the wires onto the top of the loop, and finally, bolt the two ends securely to the chassis using star washers for good contact. Do NOT bolt down until all wires are soldered, as the chassis makes a very good heat sink!
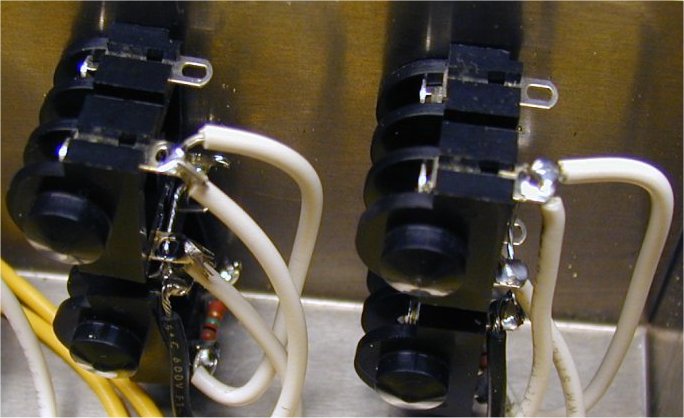
Another Weber Note: Cliff jacks work well in this chassis with the plexi faceplate, but the other plastic jacks (Neutrik/Reán) do not quite have enough depth. I had to reverse the cone washers (point in) so that the nuts could get a grip on the jack threads.
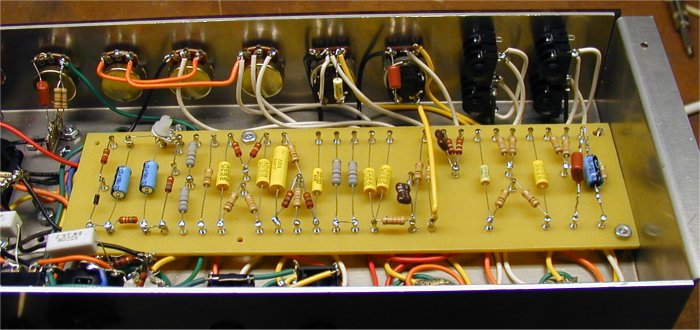
Here's a view of the control pots and turret board fully wired.
Here's a close-up of the input jacks wired.
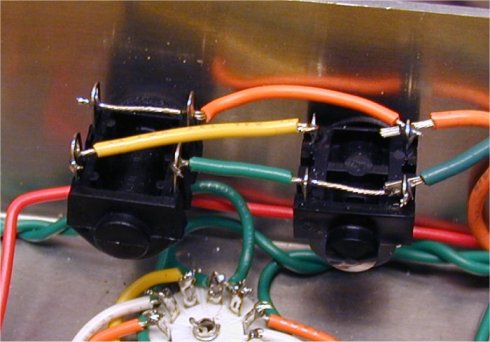
Here's a view of the output jacks, which I wired "Hiwatt style". This allows you to plug in to either jack (or both), but you still get the "safety short" when no plugs are inserted.
| <<prev | Introduction | Turret Board | Chassis | Wiring | Completed Chassis | Head Cabinet | Speaker Cabinet | Sounds | Next>> |